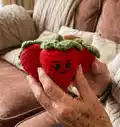
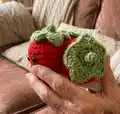
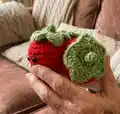
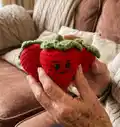
About This Stanley the Strawberry Amigurumi Pattern
This pattern creates a tiny amigurumi strawberry named Stanley, finished at approximately 2.5 inches tall. Work in continuous rounds to shape the fruit, then add a green leaf top and a small stem for character. The design uses #4 worsted yarn, a G hook, and simple stitches to achieve a neat, squishy finish.
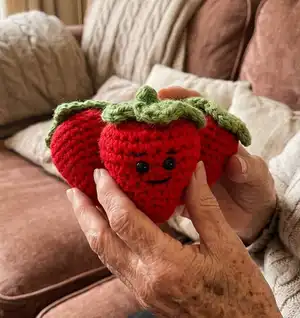
Perfect for quick gifts, keychains, or practice pieces, this pattern is easy to follow and beginner-friendly. It includes full round-by-round instructions, finishing tips, and placement guidance for eyes and the stem.
Why You'll Love This Stanley the Strawberry Amigurumi Pattern
I absolutely love this pattern because it turns simple stitches into a delightful, pocket-sized friend you can finish quickly. I enjoy how the little leaves and stem add personality with just a few clever stitches. I love that it is perfect for practicing continuous rounds, increases, and invisible decreases without being overwhelming. I also appreciate how customizable it is—change colors or eyes for a whole family of strawberries. Making Stanley always feels rewarding because the result is cute and immediately useful as a gift or decoration.
Switch Things Up
I love changing colors to create playful versions of Stanley; try pastel pink for a candy-style strawberry or yellow for a pineapple-inspired twist.
You can make a larger or smaller Stanley by swapping yarn weight and hook size; bulky yarn and a bigger hook produce a cuddly, chunky strawberry.
I sometimes replace safety eyes with embroidered eyes for a fully soft toy, which is perfect for baby-safe gifts.
Try adding tiny seed details with surface embroidery in yellow or gold to give your strawberry more texture and realism.
For a festive look, add a small crocheted bow or hat on top of the leaves to turn Stanley into a seasonal decoration.
I like to convert this into a keychain by attaching a metal keyring to the base of the stem loop before finishing the stem.
Make a cluster of strawberries in varying sizes and sew them together to create a fun garland or mobile for childrens rooms.
If you prefer a different leaf style, experiment with more or fewer leaves per round or change the stitch sequence to make pointed or rounded leaves.
I also enjoy stuffing more firmly for a firmer toy or less for a squishier, more pliable feel—adjust to your preference while shaping.
To personalize gifts, embroider initials or tiny faces, or add tiny props like a crocheted hat, scarf, or tiny felt details for character.
Common Mistakes & How to Fix Them
✗ Failing to mark the beginning of each round leads to lost stitch counts; place and move a stitch marker at the start of every round since this pattern is worked in continuous rounds.
✗ Not stuffing gradually can create lumps or uneven shaping; stuff small amounts at a time and shape as you go to maintain smooth curves.
✗ Placing safety eyes too close or too far will affect facial expression; insert eyes between rounds 8 and 9, approximately 1 stitch apart, checking placement before securing.
✗ Skipping the invisible decreases when instructed will distort the shape and sizing; follow the invdec rounds exactly and count stitches after each decrease to stay on track.