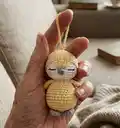
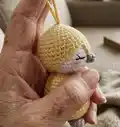
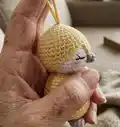
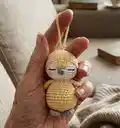
About This Keychain Mini Penguin Amigurumi Pattern
This pattern creates a tiny keychain penguin amigurumi with a two-part head (white face and colored top), embroidered closed eyes, a small beak and tiny wings, paws and tail. It uses Sport/Fine weight yarn with a 2.00 mm crochet hook to achieve a compact, neat finish. The pattern is written in US crochet terms and worked in continuous spiral rounds unless otherwise stated.
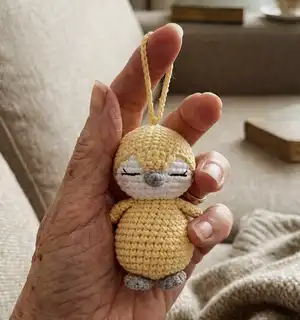
Detailed rounds for every piece and clear assembly guidance are included so you can sew parts accurately. Photos show placement for facial details and how to attach the keychain fitting.
Why You'll Love This Keychain Mini Penguin Amigurumi Pattern
I absolutely love this pattern because it turns simple stitches into an irresistibly cute miniature penguin that fits in the palm of your hand. I enjoy the small details — the wedge-shaped face overlay and tiny embroidered eyes give each penguin character while remaining quick to make. The pattern is versatile, so I often change yarn colors and make a set in different shades. It is a satisfying, focused project that I can finish in a few relaxing hours and then gift or use as a sweet keychain.
Switch Things Up
I love customizing this mini penguin by changing the top head color to create a little family of penguins in different shades; try pastels for a soft look or bright colors for playful keychains.
To make a larger penguin, I switch to a thicker yarn and a larger hook; using worsted weight yarn with a 3.5–4.0 mm hook will give you a chunkier, more cuddly version.
I sometimes replace embroidered eyes with tiny safety eyes for a different expression, or use embroidery to create sleepy, closed eyes as shown for a sweeter look.
For a festive touch, I add tiny felt accessories like a scarf or hat glued or stitched on, or sew on small beads as buttons to make seasonal variants.
I often experiment with different stuffing levels; slightly looser stuffing gives a softer, squishier toy, while firmer stuffing keeps the shape more defined and sturdy for keychains.
If I want posable wings, I will insert a short piece of floral wire in each wing before closing, stitching the base securely so the wire stays hidden but allows bending.
I like to change the beak color to match or contrast the feet for playful color blocking; try mustard, coral or deep gray for different moods.
To make it a magnet or pin, I sew a small magnet or pin back into the body before finishing and hiding the tail end, creating multi-purpose gifts.
When I want a mini collection, I vary the eye style — embroidered lashes, simple dots, or tiny beads — to give each penguin its own personality.
Finally, I create matching accessories like a tiny crochet bow or mini scarf and stitch them on with contrasting yarn to make each keychain unique and gift-ready.
Common Mistakes & How to Fix Them
✗ Skipping a stitch marker and not marking the beginning of rounds leads to losing your place; use a stitch marker or a short length of scrap yarn to mark the first stitch of each round.
✗ Stuffing too late or unevenly causes lumps and misshapen parts; stuff gradually as you crochet, shaping evenly and checking the profile frequently.
✗ Not securing thread ends when finishing parts can lead to loose pieces later; fasten off with a needle join, weave in ends and hide thread tails securely.
✗ Misplacing eyes or embroidery relative to rounds alters the expression and symmetry; count stitches carefully and place safety eyes or mark embroidery positions between rows 10 and 11 at 7-8 stitches apart as instructed.
✗ Inconsistent tension changes final size and fit of parts; keep a consistent moderate tension and use the recommended 2.00 mm hook for the same gauge.
✗ Rushing increases and decreases can make shaping uneven; follow each round count exactly and recount stitches regularly to ensure correct shaping.