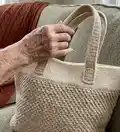
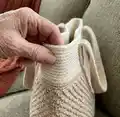
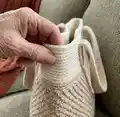
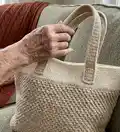
About This Spike Stitch Tote Bag Pattern
This pattern creates a textured spike stitch tote bag with a firm base and two strap options (pre-made or crocheted). Youll learn the spike stitch with a short pictorial tutorial and follow clear round-by-round instructions. The finished bag is roomy and durable—perfect for daily use or as a thoughtful handmade gift.
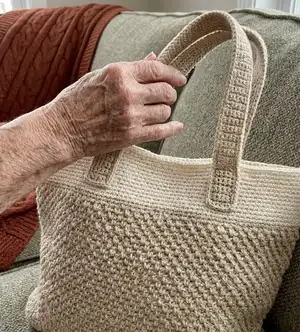
Includes materials, abbreviations, gauge and detailed finishing instructions for either pre-made leather straps or crocheted handles. Ideal for those who enjoy textured stitches and a relaxed, modern tote shape.
Why You'll Love This Spike Stitch Tote Bag Pattern
I absolutely love this pattern because the spike stitch creates a stunning, woven-like texture that feels both modern and timeless. I enjoy how the bag grows quickly once the base is established and how simple shaping gives it a professional silhouette. The option to use pre-made straps or crochet your own makes this pattern flexible for different skill levels and aesthetics. I also appreciate sharing the spike stitch tutorial — it helps you master the look without guessing.
Switch Things Up
I love customizing this tote by changing the yarn color palette; try ombre shades from bottom to top for a bold statement.
I sometimes swap the worsted weight yarn for a bulky yarn and a larger hook to create a chunkier, faster version of the bag.
I often add a lining for extra durability and to prevent small items from poking through; choose a lightweight cotton fabric and hand-sew it in place.
I like to experiment with different strap materials—use pre-made leather straps for a polished look or make crocheted straps for a fully handmade bag.
I sometimes shorten the chain handles to make shoulder straps or lengthen them for a crossbody-style tote by adjusting the CH 100 to a different length.
I add small inside pockets for phone and keys by crocheting a rectangular pocket and sewing it to the inside before weaving in ends.
I enjoy switching the spike stitch and single crochet bands so the top trim is textured and the body plain, which reverses the visual emphasis.
I occasionally embroider a small initial or motif onto the bag front using duplicate stitch for personalization and gifting.
I suggest trying natural fibers like cotton for summer use and a blend for more structure; the fiber choice changes the drape and durability significantly.
I also recommend trying color blocking: work the lower two-thirds in one color and the upper trim in a contrasting shade for a modern effect.
I sometimes add a magnetic snap or zipper at the top for security; if adding a zipper, sew the lining in first and attach the zipper to the lining before sewing into the bag.
I enjoy making matching small accessories like a pouch or keychain using leftover yarn to create a coordinated set.
Common Mistakes & How to Fix Them
✗ Skipping the second strand recommendation; solution: crochet around a second strand starting in round 2 to create a firmer structure and avoid a floppy bag.
✗ Not placing stitch markers for strap placement which leads to uneven straps; solution: place markers at stitches 21, 49, 94 and 121 to position straps accurately before starting the strap rounds.
✗ Forgetting to check for twist in long chains for crocheted straps; solution: always lay your CH 100 flat and check it is not twisted before joining or working into the chain.
✗ Rushing the spike stitch tension which causes inconsistent texture; solution: practice the spike stitch on a swatch and keep consistent tension, drawing the spike loop to the height of the round each time.
✗ Not counting stitches after increases on the base causing mismatched round totals; solution: count stitches at the end of each round and confirm numbers shown in brackets before continuing.